Braided Crochet Hair Band
Step-by-Step Tutorial: Braided Crochet Hair Band
Welcome to our creative and motivating crochet tutorial! Today, let’s learn together how to create a beautiful braided hairband using the crochet technique. With this detailed guide, I’m sure you’ll be ready to start this exciting project today. Let’s go!
Necessary materials:
Crochet yarn in the desired color.
Crochet hook appropriate for the chosen yarn.
A clip or elastic to secure the hair band.
Step 1: Choosing Thread and Needle
Choose a crochet yarn that is soft and comfortable to use on hair. Be creative when choosing colors to personalize the piece according to your style. Make sure to use a crochet hook that fits your yarn size to ensure consistency of work.
Step 2: Measurement and Start
Measure your head circumference to determine your starting headband length. Start crocheting with a chain of stitches that reach this measurement, remembering to add a few extra stitches to ensure a comfortable fit.
Step 3: Basic Point
Start the first row using the basic crochet stitch. This will be the foundation of the track. Be sure to maintain even tension to ensure a flawless finish.
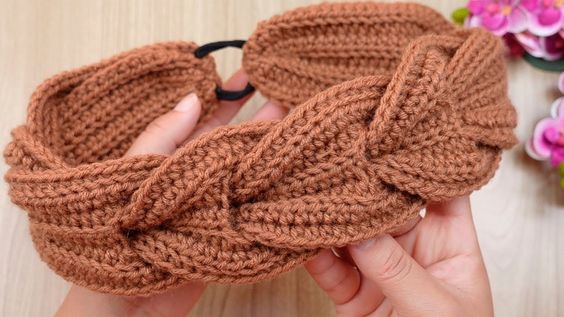
Step 4: Creative Braiding
Now, let’s give the track a special touch. Introduce the braiding technique. Use specific crochet stitches to create a braided pattern that adds texture and style to your piece. Feel free to experiment with different stitch combinations to achieve the effect you want.
Step 5: Custom Tuning
As we go, try the band on every now and then to ensure the perfect fit. If necessary, make additional adjustments to the stripe width or number of rows to adapt to your unique measurement.
Step 6: Finishing with Style
Finish the band with a row of stitches that adds an elegant finishing touch. When finished, cut the thread and tie it tightly to ensure the durability of the piece.
Step 7: Adding the Final Touch
If desired, personalize your hairband further by adding decorative elements such as crochet flowers or beads. This will give your creation a unique touch.
Step 8: Fixing and Styling
Secure the hair band using a clip or elastic, depending on preference. Try different styles and discover the versatility of your new crochet piece!
Now you’re ready to parade around with your braided crochet hairband! Remember, practice makes perfect, so have fun exploring new techniques and styles. We look forward to seeing your unique creations!
Access the free crochet pattern.
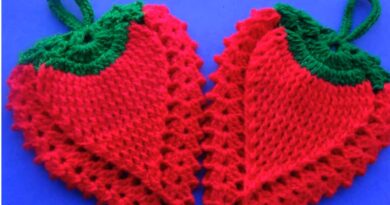
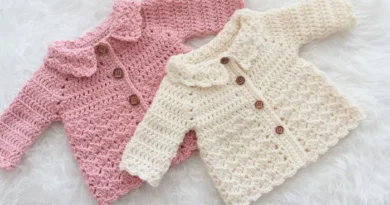
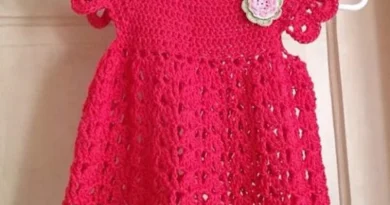
If you liked this crochet yarn craft pattern, just below, we’ll leave you with some more options for models of the most diverse crochet styles so that you can be inspired and hit the nail on the head, which style of crochet you will start with:
Crochet Sedge Stripes Baby Blanket
We at the We Love Crochet blog wish all our beloved readers a wonderful week, full of God’s blessings in their homes, and of course, not least many skeins of yarn to crochet. A big hug to everyone, that’s what we want. We Love Crochet.